Simba go – A VFX Breakdown.

What does it take to create a CGI short? From script writing and storyboarding to modelling, texturing, lighting, cameras and rendering; there's a lot that goes into computer generated animation.

Preproduction and Storyboarding

No matter what video you’re making, pre-production is arguably the most important step. It doesn’t matter how well executed an idea is, a bad input = a bad output.

Starting with script development Defy Studios spent the time to ensure that the client’s messaging was met, whilst packaging it into a story that could be easily followed by viewers.

The brief was to use abstract imagery, so it was important to incorporate this, being careful to keep it understandable for the audience.

Mood Boards were utilised to hone in a look for the film and aid the storyboard artist in visualising the scenes.

Why CGI (Computer Generated Imagery)?

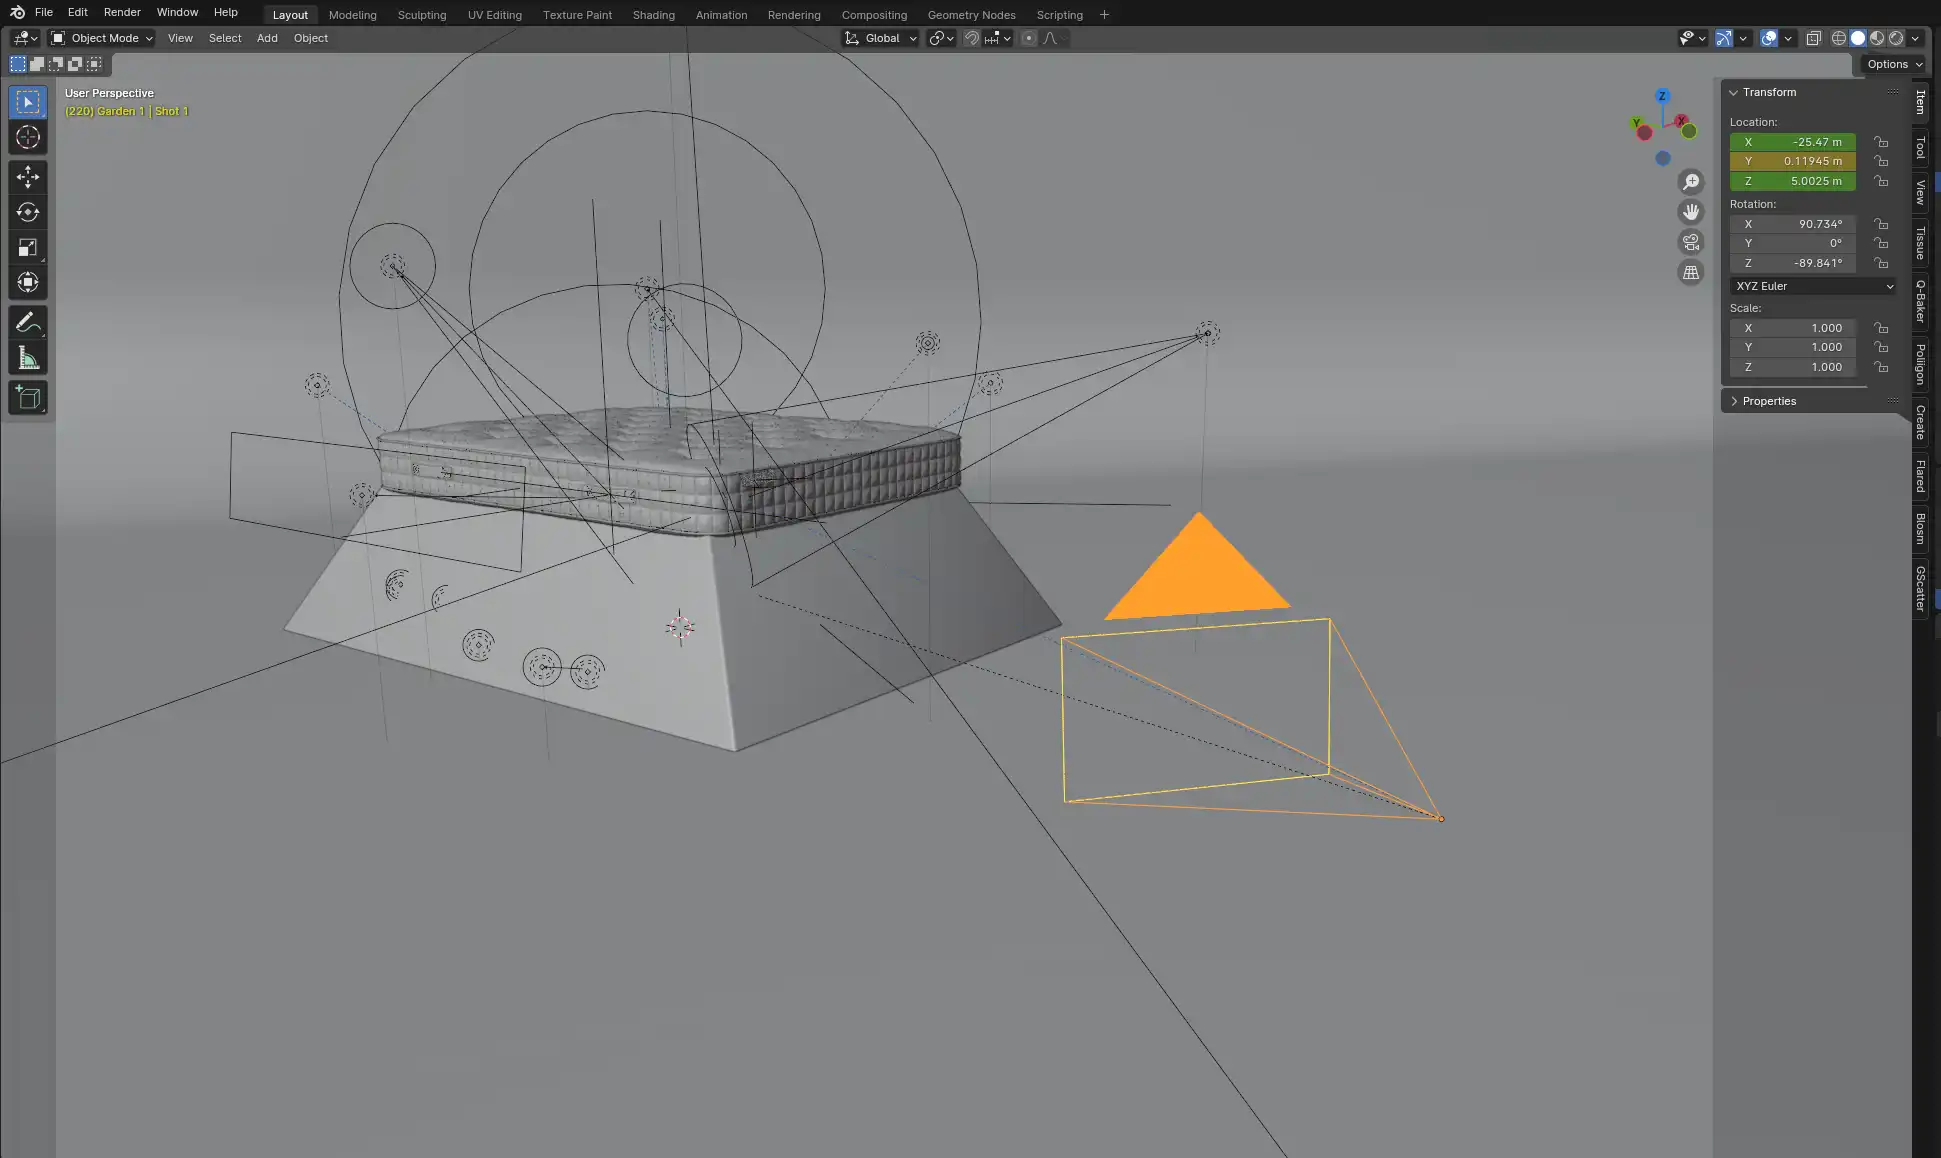
CGI has a range of benefits over conventional filming. For this project we put many of those benefits to use.

It doesn’t exist yet –
Want to release a video with the launch of your project? Sometimes the product can change close to the release date, or samples may not be available to film. Give a CGI artist a few dimensions and reference photos and before you know it you have a perfect digital copy of the real thing. Change a couple design elements? No problem, in CGI these can be updated right up to the end of production, meaning no reshoots and updated visuals of your product.
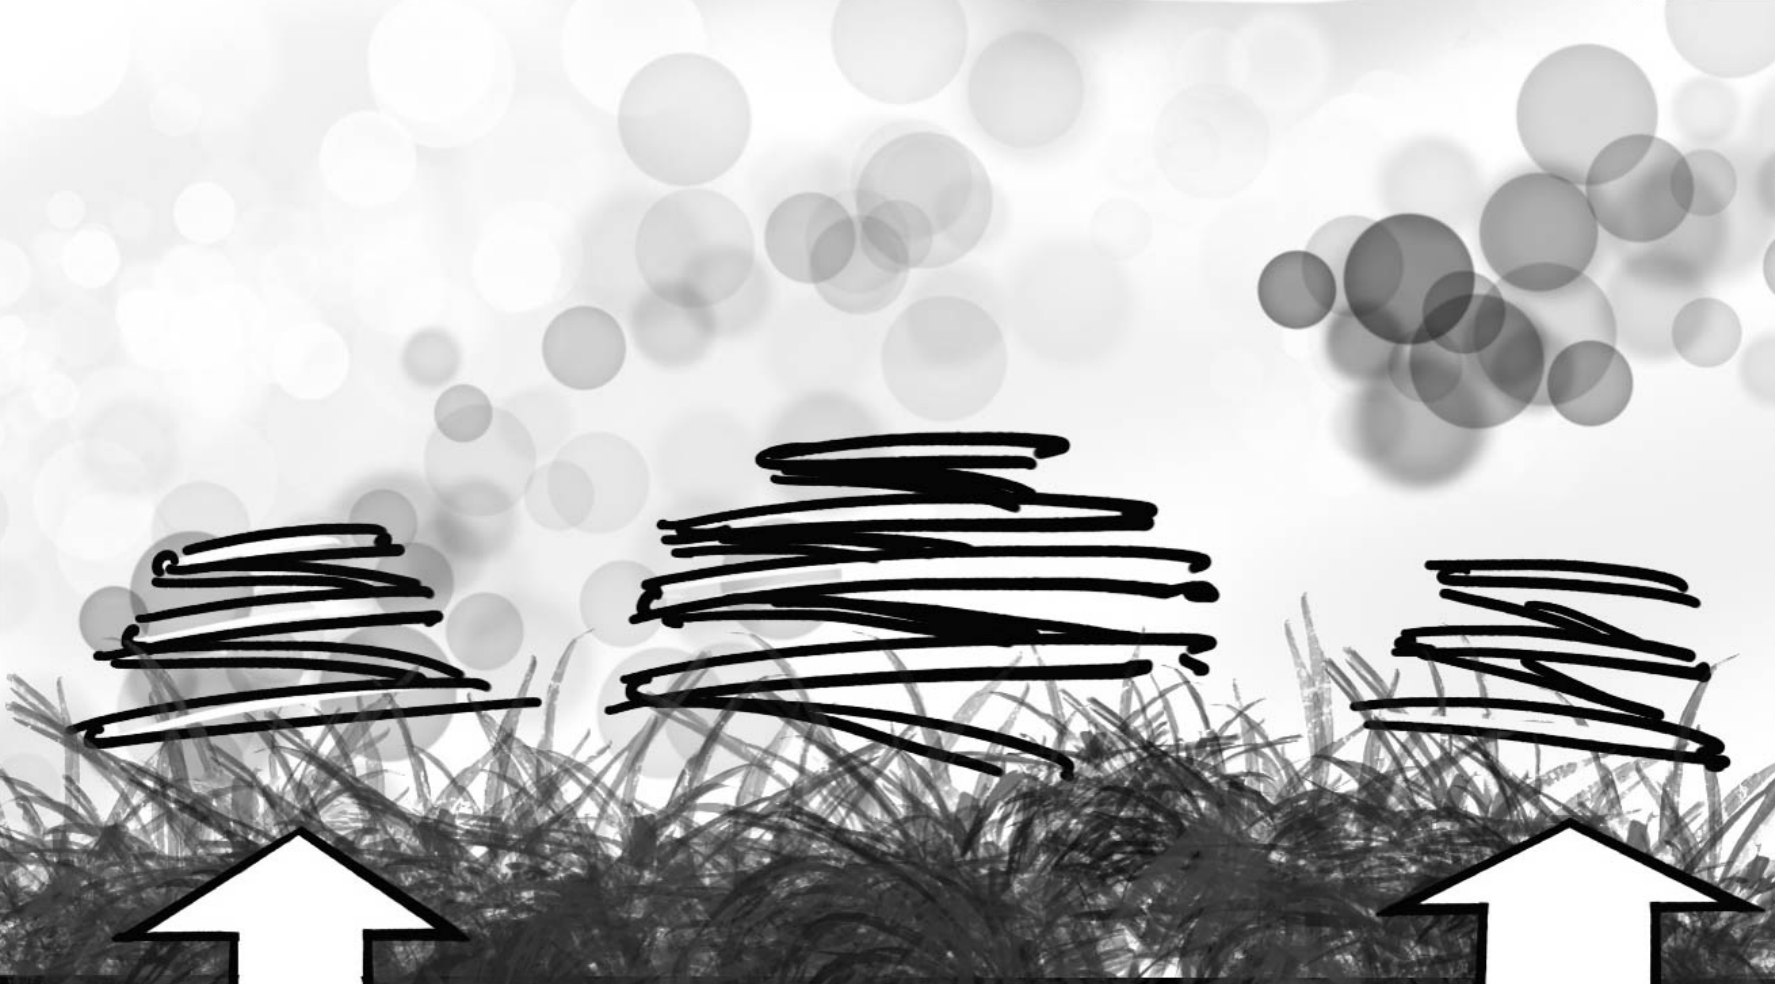
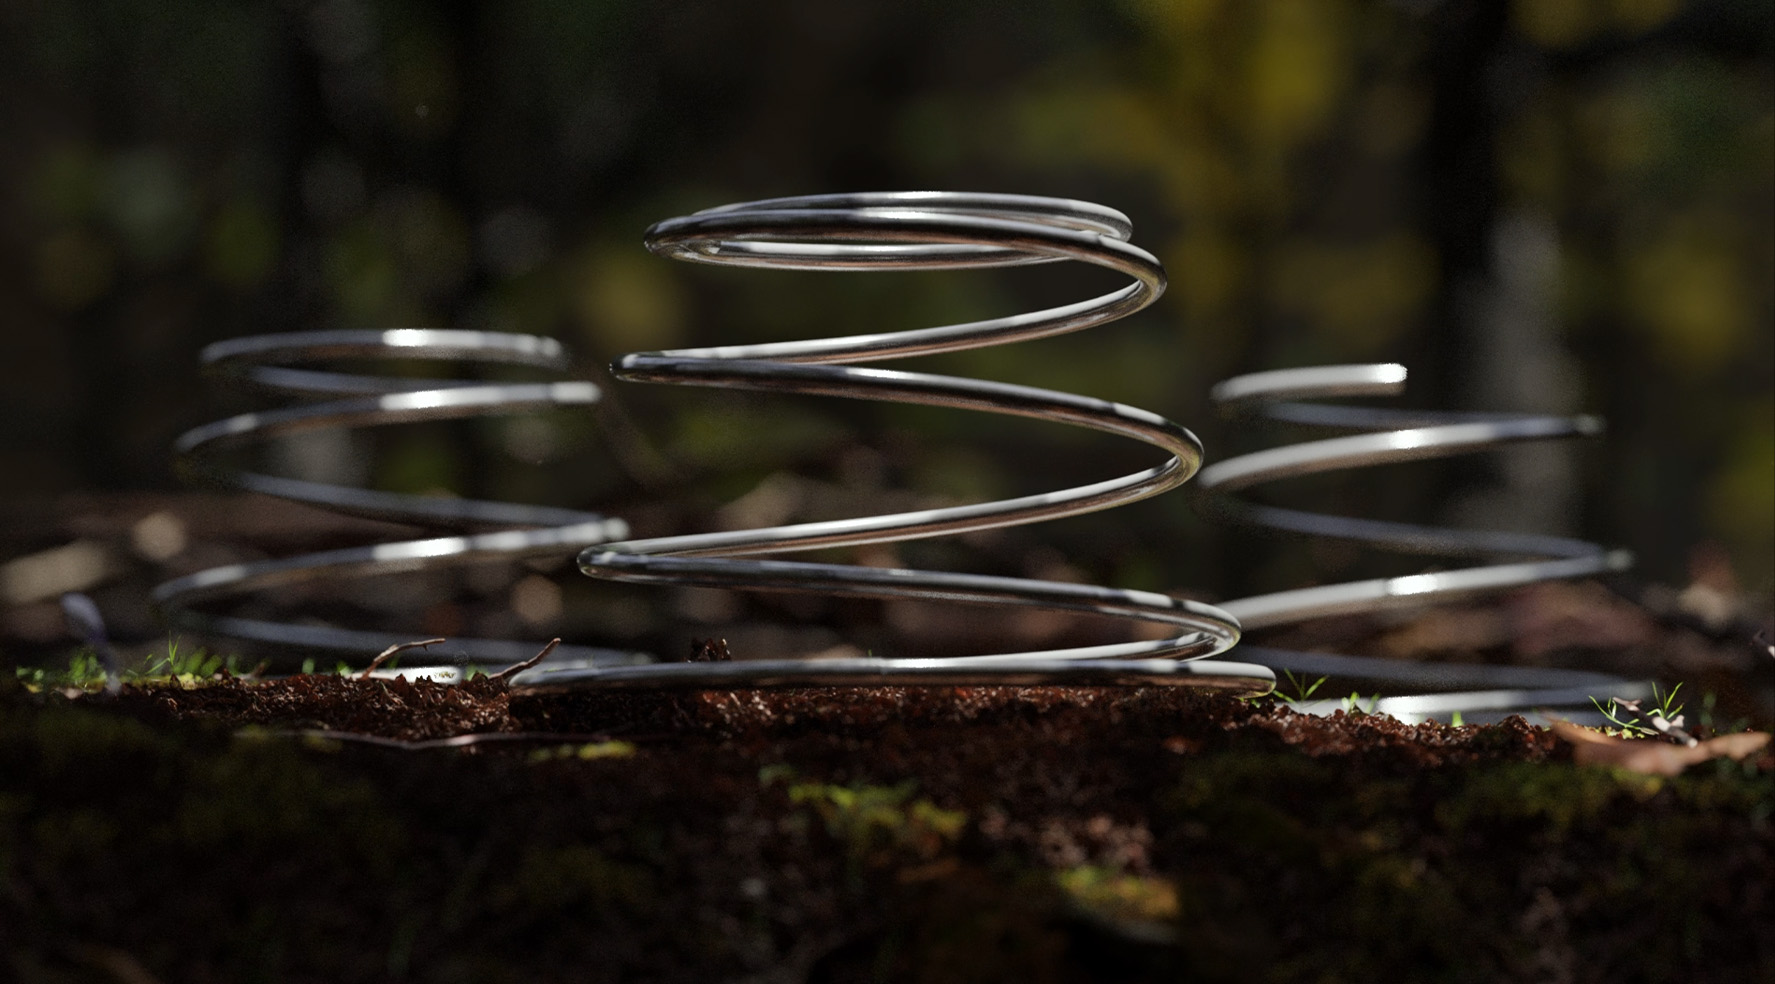
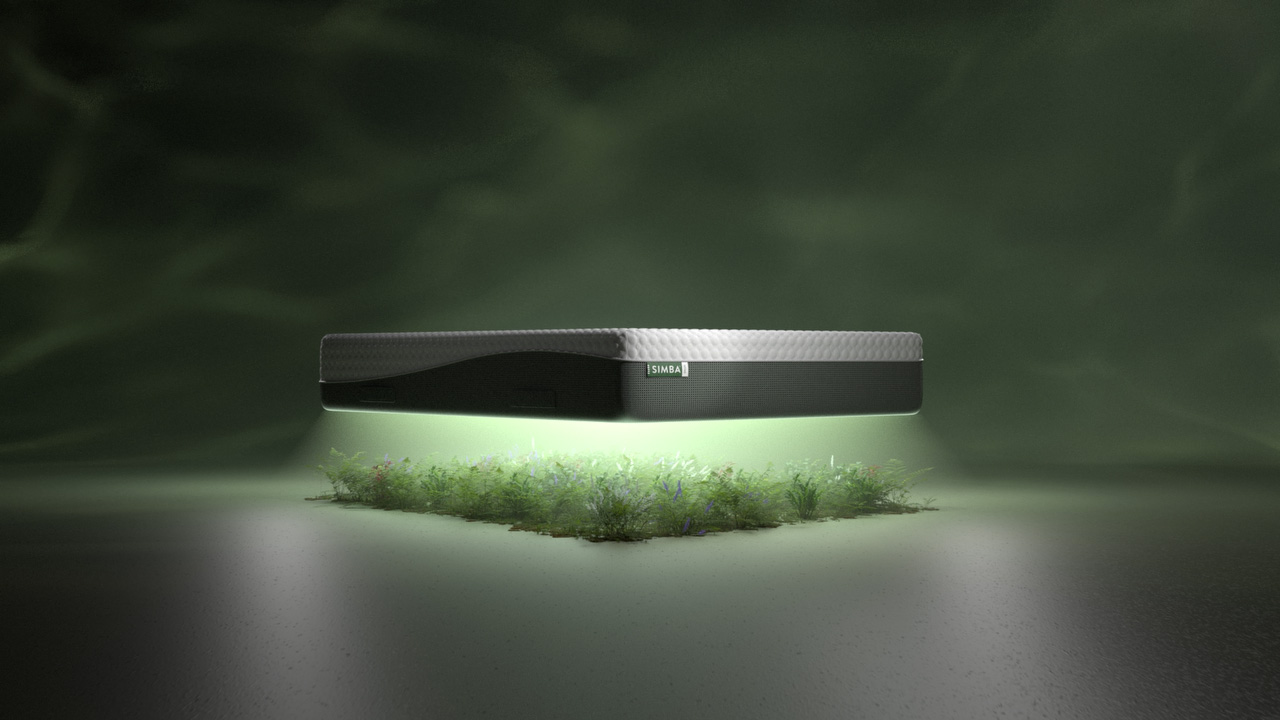
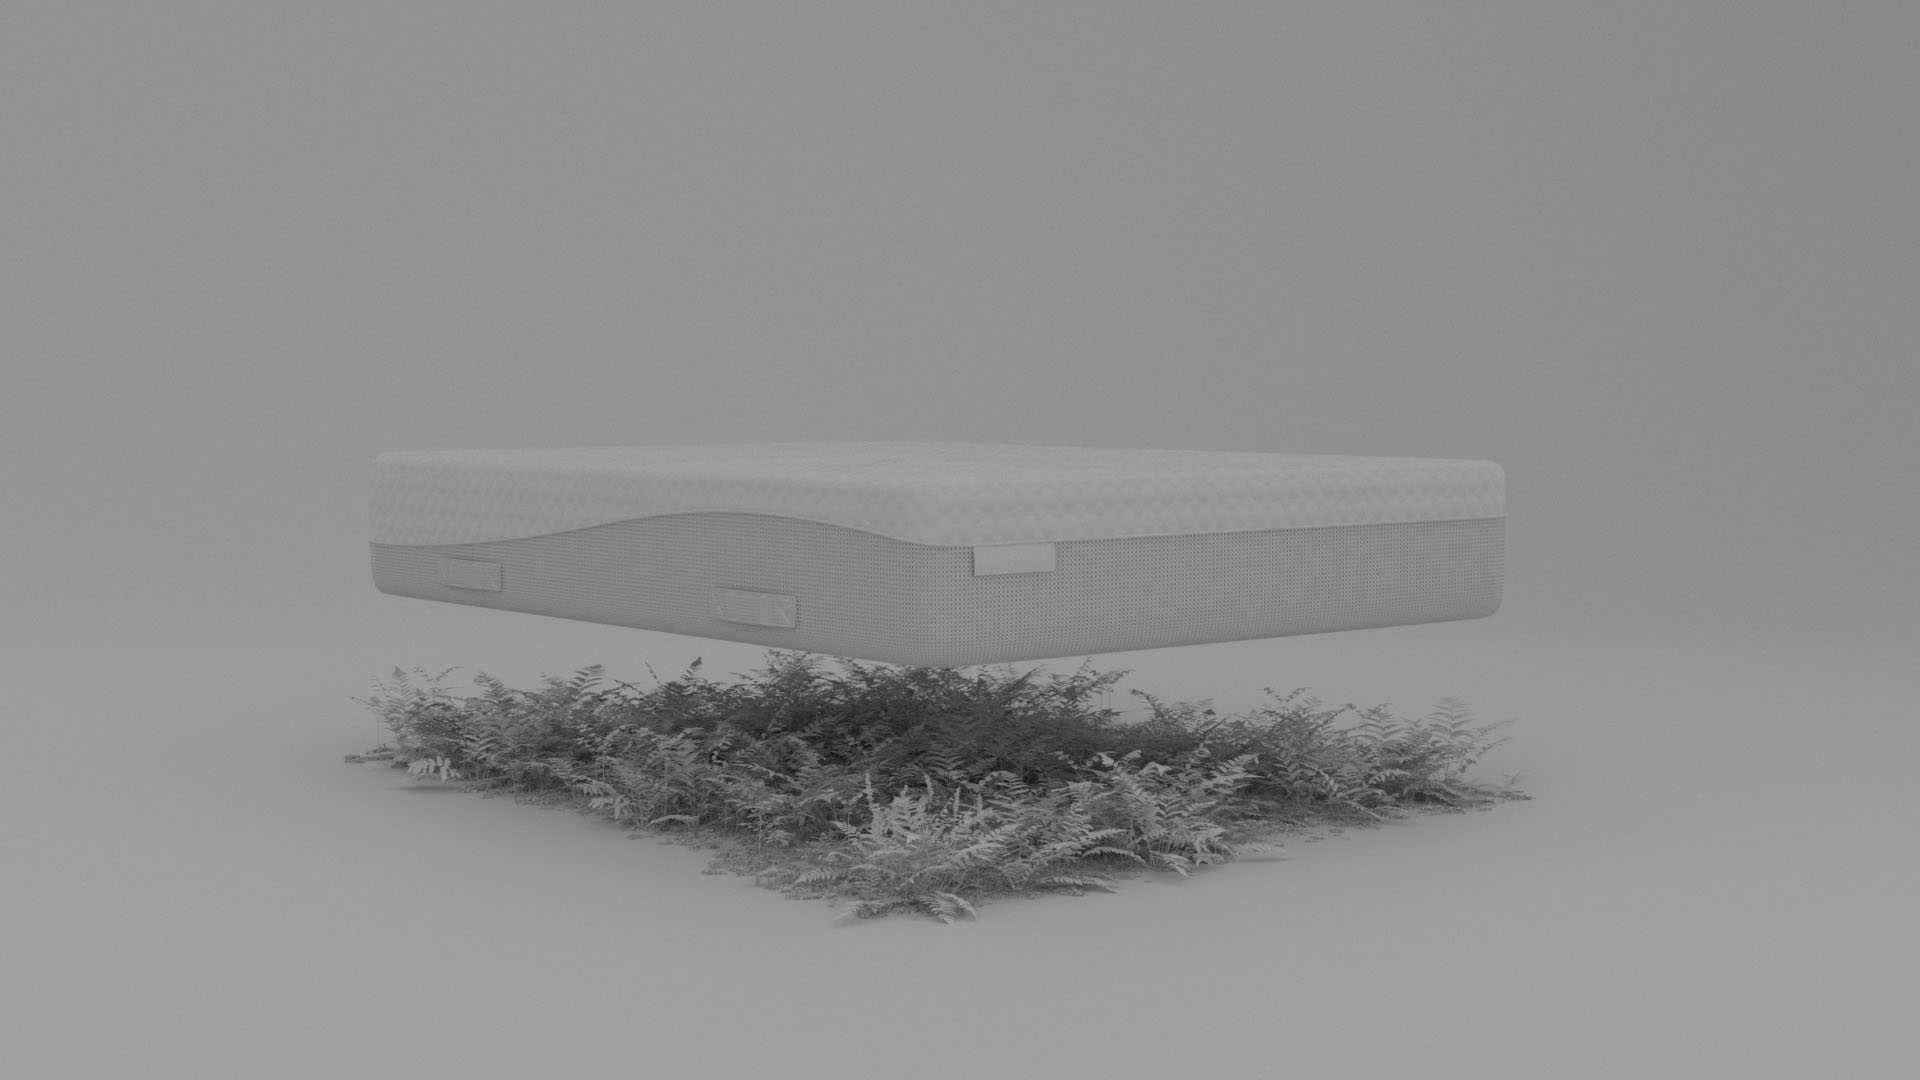
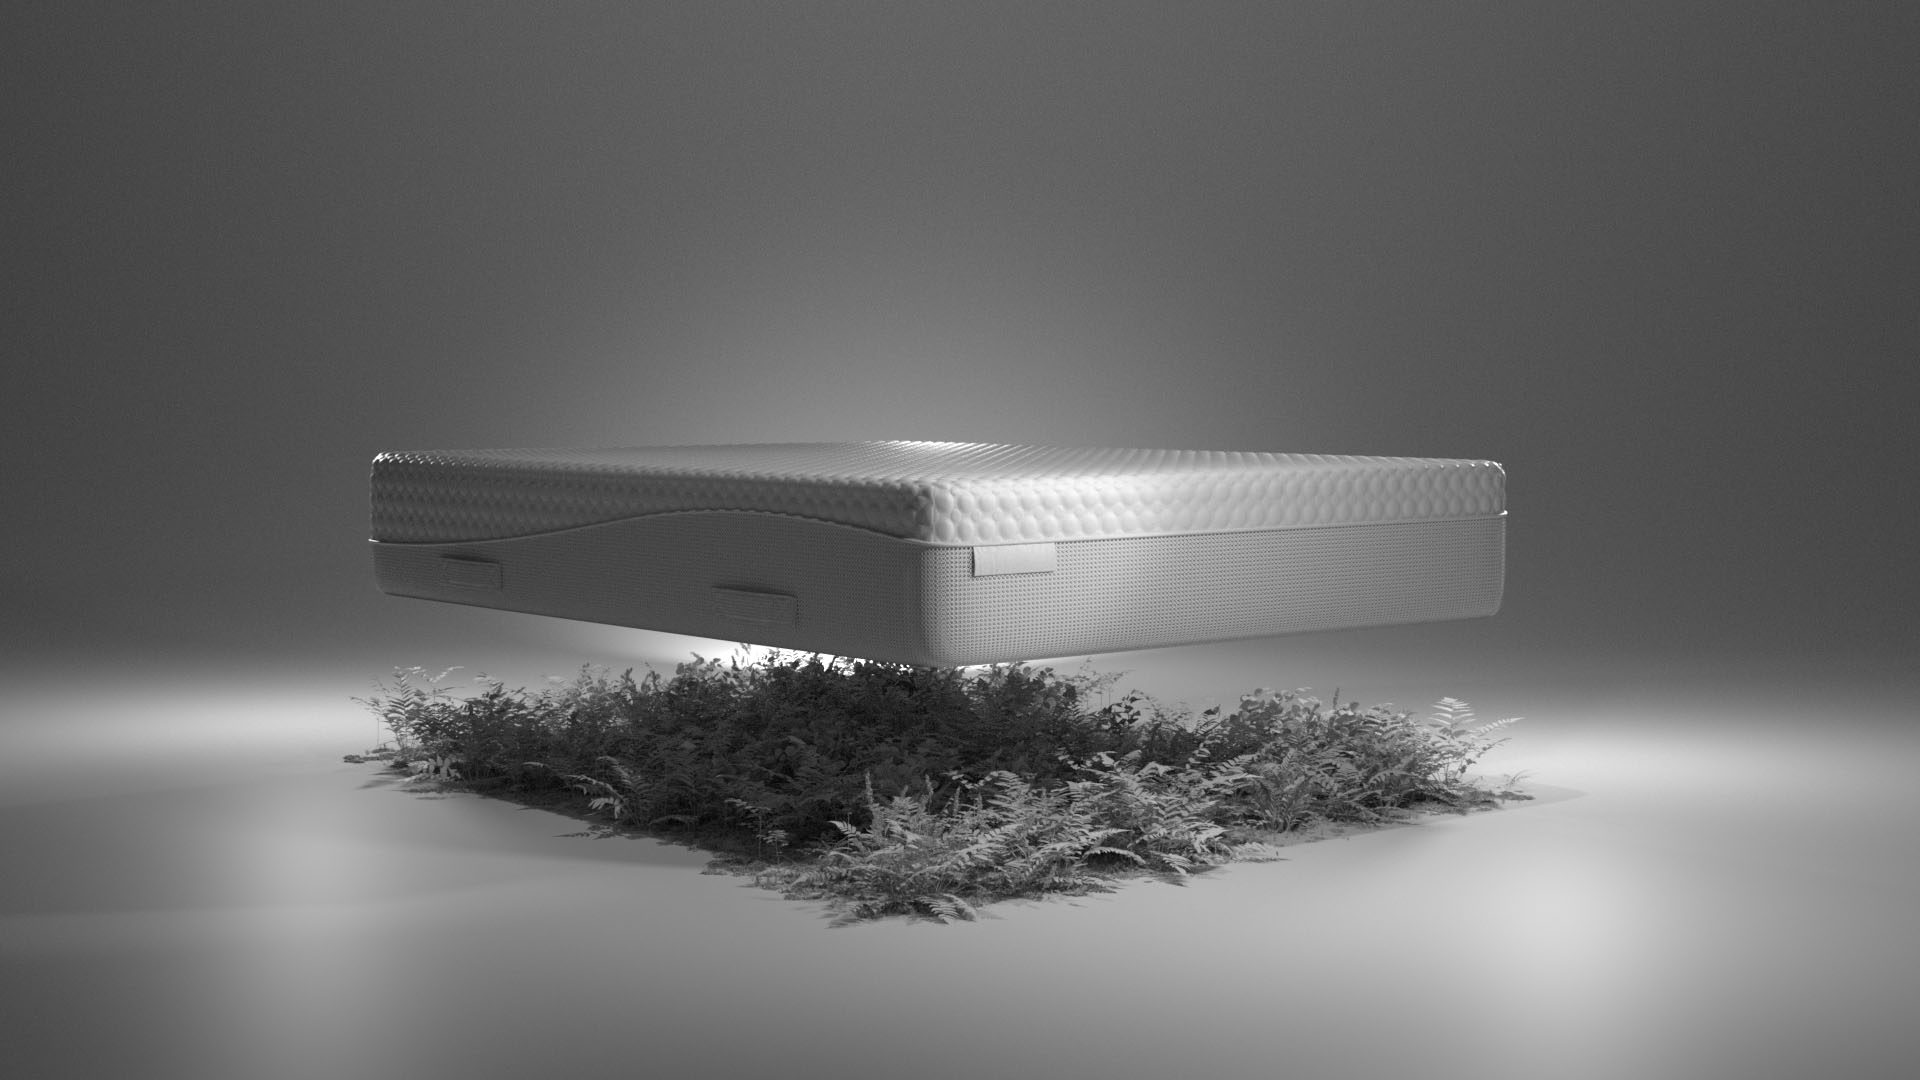
Imagination is your limit –
It may sound cheesy… But it’s true. Anything is possible is CGI. Need your mattress to hover and explode into its separate layers, showing the internal structure? Springs growing out of the ground and then floating into the air? No problem.

Cost effective –
With CGI, there is no need to build elaborate sets, hire large crews, or rent expensive equipment. This can save a significant amount of money, especially for films with complex special effects or settings.

Modelling

Time to boot up the 3D software. We love using Blender for its versatility and incredible inbuilt cycles render engine.

Just like in real life filming we need a subject. In this case, the Simba GO Hybrid Mattress. This is where one of the massive benefits we spoke about of CGI came into play. The mattress did not yet exist. We were provided with dimensions and reference photos which allowed us to rebuild the mattress in 3D.

Texturing

Modelling is only half of the story when it comes to creating a life-like 3D replica. Think of the previous step like making a clay model. Now it’s time to paint it.

High quality photos were taken of real-life textures and materials, then converted into a selection of 3D data. Bump maps, Normal maps, Glossy Maps, Reflection maps and colour. The render engine in the 3D software can read these files turning the grey model into a production ready asset.

A lot of time can be saved in this step by utilising asset libraries. Poliigon was a great resource, providing a fantastic starting point for many of the textures we needed.

R&D and Development

Every CGI project brings its own technical challenges with it. Depending on how you might want something to move or interact with its surroundings, it must be built differently.

Lighting

There is one main distinction between good looking CGI and bad. You guessed it, lighting.

Just like filming in real life lighting will make or break a shot so a lot of time is spent here perfecting the look. In CGI you’re spoilt for choice, you can have an unlimited amount of lights in any location in any colour.

Funnily enough, you get the most realistic image when you think “How would I light this in real life”. We work with our experienced cinematographers who don’t know CGI to light our CGI shots. Turns out this approach works incredibly well for bringing our scenes to (real) life!

Rendering

That’s it right? Well not quite. Up until now we’ve been working with low quality previews. To see the final full quality image the computer has to sit and think. Sometimes, depending on the complexity of the shot this could be up to 30 minutes per frame.

For normal video, there’s 25 frames shown every second. Meaning that for a 5 second clip you could be waiting 62.5 hours for it to render. Almost 3 days!

There’s two ways to combat this. Optimising your scenes and simply having more compute power. Optimisation can be as simple as if there’s a handle on the back of the mattress you can’t see, remove it from your scene!

Cameras

Our cinematographers don’t stop at the lighting stage however. Camera moves and angles are essential for telling the visual story that our viewer is going on. Just like lighting, the same theories translate from the real world to the computer.

Low angles can make things look epic. Long lenses can compress the background and emphasise movement. Pulling the focus from one point to another guides the viewer’s eye.

Continue Reading .

Drone, FPV, Real estate

How to film interior FPV drone flythroughs

Previous
Next